March 5, 2014
How does your garden grow? Well, it’s coming. Here is our side yard outside the kitchen window when we purchased our new home. I wish I’d taken a picture before we cleaned all the trash out of this area. But I can assure you, it was a mess.
 July 4, 2014
There were bricks and rocks strewn all over the property. One of the first things was to gather the bricks and make a platform for the garbage cans. You can see this better if you’ll click on the picture to enlarge it. Then flower beds were established with flexible edging. This allowed us to go ahead and get some plants in before the worst of the summer heat descended.
 September 11, 2014
Had to get a new fence, the old one was more holes than boards! Our kitties are much safer now. We realized after the first rain that the soil here is thick with clay. The mud was a mess. The original plan was to make the walkway with Pavestones but it was going to be a while before that would happen. So Jack came up with a brilliant idea. Why not use the same mulch that was in the flower beds in the walkway? Just use the Pavestones for the steps. Then when it rains we could walk without getting our shoes caked with sticky muck. The rocks along the wall were collected off the property. The larger stones lining the walk are Rumble Stones, purchased at Home Depot.
 October 3, 2014
Our plants are thriving. We brought cactus pads with us from our previous home. They are loving the hot, southern exposure. A Vitex Tree, Pride of Barbados, Jerusalem Sage, Salvia Greggi, Mexican Bush Sage and Zinnias are filling out. All of these are low water plants. Work continues on the walls of the walk. Each step has to be leveled out, then backfilled with mulch.
 October 6, 2014
Got the upper set of steps completed. I think they meet with Molly’s approval! She is sitting at the base of our Rose Arbor.
 October 8, 2014
Here’s a full picture of the arbor. It’s made of a 16 foot long Livestock Panel that we arched over and attached to steel fence posts. By next year it will be totally covered with Roses. The courtyard is leveled out and I’ve begun laying the Pavestones. Once all the prep work is done this part goes pretty quickly.
 October 9, 2014
This is the really fun part. We had a metal cutout made years ago to hang on our front door in Arizona. It’s been a part of our decor in every home we’ve lived in since. We thought it would be fun to incorporate into our kitchen garden.
 October 9, 2014
So……what do you think?
 October 14, 2014
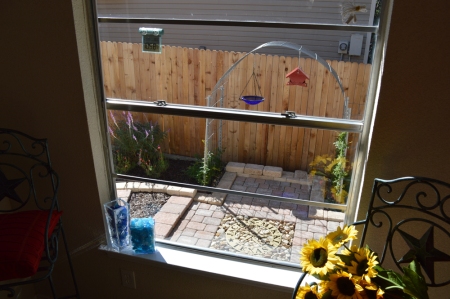
Our Jack and Mikki Garden from the kitchen window.
 October 21, 2014
The sitting area is complete. The Rumblestones are held together with construction glue applied with a caulking gun. I place them first to make sure I like the way they look, letting them sit a few days before gluing them in place permanently. I’ve been known to make changes after I get everything in and study it for a while 🙂
 October 21, 2014
Sissie, our other rescue kitty, sure likes the view from the kitchen. I have a feeling the major draw is the bird feeder!
 October 27, 2014
Now for the lower section of steps and the walls bordering them.

Talk about amazing timing. Our AC/Heating Unit went out just I was starting to complete the wall under the kitchen window. You can see the old unit in the previous picture. We had a wonderful company installing the equipment, Peter suggested moving the outside unit further away from the kitchen window so I’d have more room for the garden. Wasn’t that neat? So I incorporated a servicing area beside the unit into the design. AND…..Drum Roll. WE’RE DONE!

View from the AC unit. The gate to the front yard is partially open.

Looking into the gate from the front yard. The garbage cans reside immediately to the left.

You want to see how it looks now? C’mon, follow me!

Everything is really coming together, don’t you think?

This was taken from our kitchen window. We’re loving our new home/studio. Thanks for being on our Team and following along. Hugs,


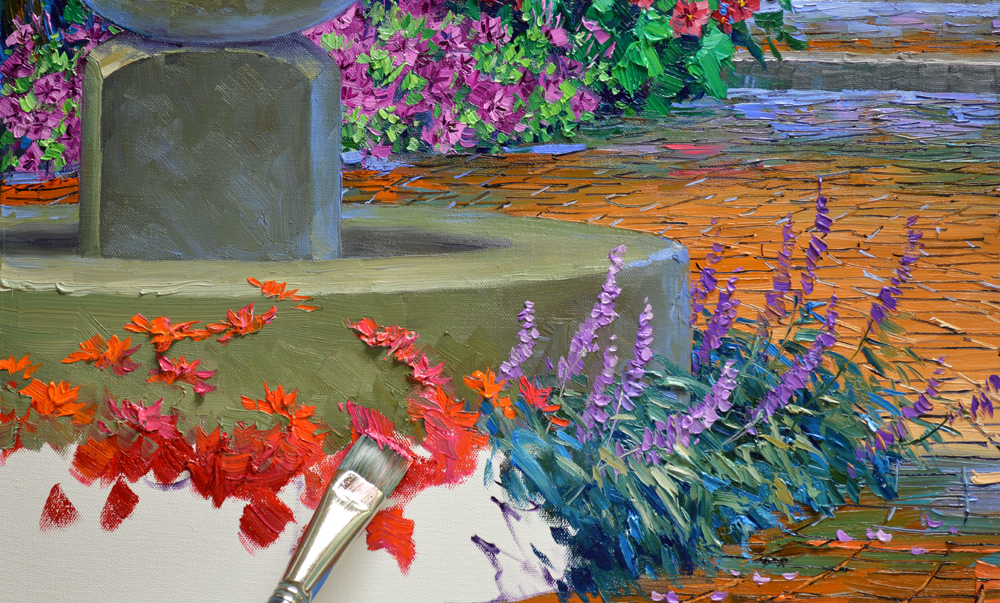
 Farolito Shadows 14 inches by 14 inches Original Oil Painting